I want to share the steps I used to create my ROSA with the hosted control planes (HCP) cluster.
Prerequisites
- Download ROSA CLI from https://console.redhat.com/openshift/create/rosa/getstarted.
- Download Terraform
- Download Git
- Have an account at https://console.redhat.com/
- Have an account with AWS
Installation Steps
- Login to the AWS management console to enable the ROSA with HCP
- Click “Get started.”
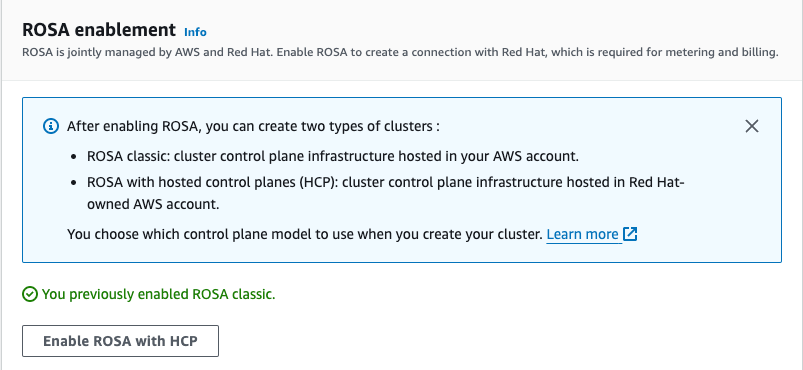
- Click “Enable ROSA with HCP”
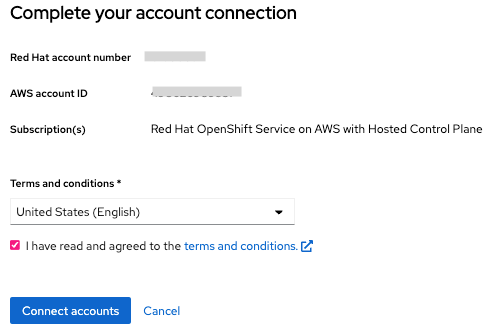
- Connect to your AWS account
- Open a terminal and run “rosa login” with your token from the link above using ROSA CLI.
$ rosa login --token="your_token_goes_here"
$ rosa create account-roles --mode auto
- Create the Virtual Private Cloud using Terraform.
$ git clone https://github.com/openshift-cs/terraform-vpc-example
$ cd terraform-vpc-example
$ terraform init
$ terraform plan -out rosa.tfplan -var region=us-east-2 -var cluster_name=rosa-hcp
Note: If you want to create your own VPC for ROSA with HCP, you can replace this step with your VPC creation. The specific network requirements will be provided in the documentation referred to in the Reference section.
- Run the following command.
$ terraform apply "rosa.tfplan"

output:

module.vpc.aws_eip.nat[0]: Creating...
module.vpc.aws_vpc.this[0]: Creating...
module.vpc.aws_eip.nat[0]: Creation complete after 0s [id=eipalloc-05b7778b52041c991]
module.vpc.aws_vpc.this[0]: Still creating... [10s elapsed]
module.vpc.aws_vpc.this[0]: Creation complete after 12s [id=vpc-02008794079e35f34]
module.vpc.aws_internet_gateway.this[0]: Creating...
module.vpc.aws_default_route_table.default[0]: Creating...
module.vpc.aws_route_table.public[0]: Creating...
module.vpc.aws_route_table.private[0]: Creating...
module.vpc.aws_subnet.public[0]: Creating...
...
Apply complete! Resources: 14 added, 0 changed, 0 destroyed.

Outputs:

cluster-private-subnets = [
  "subnet-xxxxaa7e62b0cxxxx",
]
cluster-public-subnets = [
  "subnet-xxxx9d32f9bfxxxx",
]
cluster-subnets-string = "subnet-xxxx9d32f9bfbxxxx,subnet-xxxxaa7e62b0cxxxx"
- Make a note of the subnet IDs.
$ export SUBNET_IDS=$(terraform output -raw cluster-subnets-string)
- Creating the account-wide STS roles and policies
$ rosa create account-roles --hosted-cp

output:

I: Logged in as 'shanna_chan' on 'https://api.openshift.com'
I: Validating AWS credentials...
I: AWS credentials are valid!
I: Validating AWS quota...
I: AWS quota ok. If cluster installation fails, validate actual AWS resource usage against https://docs.openshift.com/rosa/rosa_getting_started/rosa-required-aws-service-quotas.html
I: Verifying whether OpenShift command-line tool is available...
I: Current OpenShift Client Version: 4.13.5
I: Creating account roles
? Role prefix: ManagedOpenShift
? Permissions boundary ARN (optional):
? Path (optional):
? Role creation mode: auto
? Create Classic account roles: Yes
I: By default, the create account-roles command creates two sets of account roles, one for classic ROSA clusters, and one for Hosted Control Plane clusters.
In order to create a single set, please set one of the following flags: --classic or --hosted-cp
I: Creating classic account roles using
...
I: To create an OIDC Config, run the following command:
	rosa create oidc-config
Notes: I used “ManagedOpenShift” as the account role prefix (default) in this example
- Create OIDC config
$ rosa create oidc-config


interactive output:

? Would you like to create a Managed (Red Hat hosted) OIDC Configuration Yes
W: For a managed OIDC Config only auto mode is supported. However, you may choose the provider creation mode
? OIDC Provider creation mode: auto
I: Setting up managed OIDC configuration
I: To create Operator Roles for this OIDC Configuration, run the following command and remember to replace <user-defined> with a prefix of your choice:
	rosa create operator-roles --prefix <user-defined> --oidc-config-id <oidc-config-id>
If you are going to create a Hosted Control Plane cluster please include '--hosted-cp'
I: Creating OIDC provider using 'arn:aws:iam::<acct-id>:user/shchan@redhat.com-nk2zr-admin'
? Create the OIDC provider? Yes
I: Created OIDC provider with ARN 'arn:aws:iam::<acct-id>:oidc-provider/rh-oidc.s3.us-east-1.amazonaws.com/<oidc-config-id>'
Notes:
<acct-id> and <oidc-config-id> are generated IDs from the command.
- Set variable for OIDC_ID from the above output.
$ export OIDC_ID=<oidc-config-id>
- List out all ODIC ID that is associated with your OCM login
$ rosa list oidc-config
Note: The newly created OIDC ID is listed here.
- Create Operator roles
$ OPERATOR_ROLES_PREFIX=<prefix_name>
$ rosa create operator-roles --hosted-cp --prefix $OPERATOR_ROLES_PREFIX --oidc-config-id $OIDC_ID --installer-role-arn arn:aws:iam::000000000000:role/ManagedOpenShift-HCP-ROSA-Installer-Role

interactive output:

? Role creation mode: auto
? Operator roles prefix: demo
? Create hosted control plane operator roles: Yes
I: Using arn:aws:iam::000000000000:role/ManagedOpenShift-HCP-ROSA-Installer-Role for the Installer role
? Permissions boundary ARN (optional):
I: Reusable OIDC Configuration detected. Validating trusted relationships to operator roles:
I: Creating roles using ...
I: To create a cluster with these roles, run the following command:
	rosa create cluster --sts --oidc-config-id oidc-config-id --operator-roles-prefix demo --hosted-cp
Where <prefix_name> can be anything and “installer-role-arn” value can be found from the output of the previous step.
- Create ROSA with HCP cluster
$ rosa create cluster --sts --oidc-config-id $OIDC_ID --operator-roles-prefix demo --hosted-cp --subnet-ids $SUBNET_IDS


interactive output:

I: Enabling interactive mode
? Cluster name: rosa-hcp
? Deploy cluster with Hosted Control Plane: Yes
...
? External ID (optional):
? Operator roles prefix: demo
I: Reusable OIDC Configuration detected. Validating trusted relationships to operator roles:
? Tags (optional):
? AWS region: us-east-2
? PrivateLink cluster: No
? Machine CIDR: 10.0.0.0/16
? Service CIDR: 172.30.0.0/16
? Pod CIDR: 10.128.0.0/14
? Enable Customer Managed key: No
? Compute nodes instance type: m5.xlarge
? Enable autoscaling: No
? Compute nodes: 2
? Host prefix: 23
? Enable FIPS support: No
? Encrypt etcd data: No
? Disable Workload monitoring: No
? Use cluster-wide proxy: No
? Additional trust bundle file path (optional):
? Enable audit log forwarding to AWS CloudWatch: No
I: Creating cluster 'rosa-hcp'
I: To create this cluster again in the future, you can run:
   rosa create cluster --cluster-name rosa-hcp --sts --role-arn arn:aws:iam::<account-id>:role/ManagedOpenShift-HCP-ROSA-Installer-Role --support-role-arn arn:aws:iam::<account-id>:role/ManagedOpenShift-HCP-ROSA-Support-Role --worker-iam-role arn:aws:iam::<account-id>:role/ManagedOpenShift-HCP-ROSA-Worker-Role --operator-roles-prefix demo --oidc-config-id <oidc-config-id> --region us-east-2 --version 4.14.4 --replicas 2 --compute-machine-type m5.xlarge --machine-cidr 10.0.0.0/16 --service-cidr 172.30.0.0/16 --pod-cidr 10.128.0.0/14 --host-prefix 23 --subnet-ids subnet-<subnet-ids> --hosted-cp
I: To view a list of clusters and their status, run 'rosa list clusters'
I: Cluster 'rosa-hcp' has been created.
I: Once the cluster is installed you will need to add an Identity Provider before you can login into the cluster. See 'rosa create idp --help' for more information.

...

I: When using reusable OIDC Config and resources have been created prior to cluster specification, this step is not required.
Run the following commands to continue the cluster creation:

	rosa create operator-roles --cluster rosa-hcp
	rosa create oidc-provider --cluster rosa-hcp

I: To determine when your cluster is Ready, run 'rosa describe cluster -c rosa-hcp'.
I: To watch your cluster installation logs, run 'rosa logs install -c rosa-hcp --watch'.
Note: If you are installing ROSA with HCP the first time and failing on the cluster creation, please check out the Troubleshooting section.
- View the Installation log from the OCM console.

- Click on to the cluster name and view logs or run run ‘rosa logs install -c rosa-hcp –watch’ in the CLI
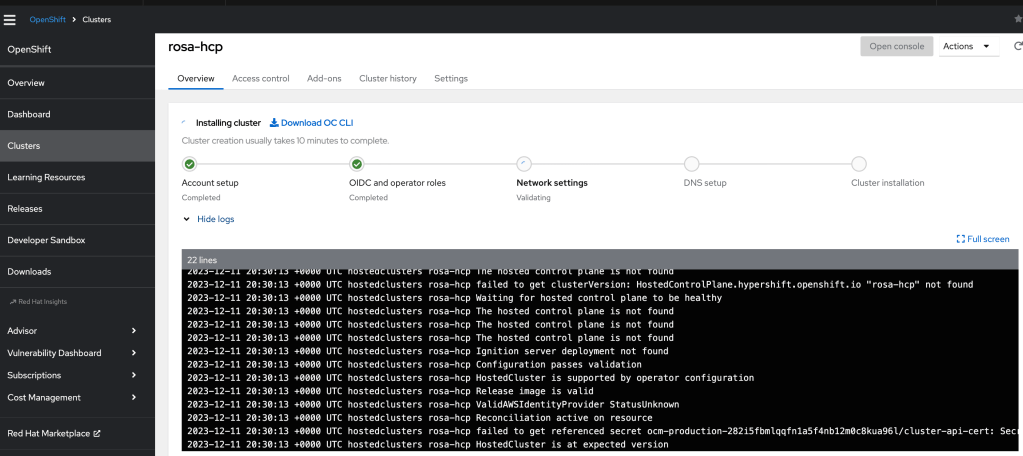
- You can also check how many EC2 instances are created under your AWS account.

- Once the installation is completed, you can create identity providers via the “Access control” tab. I added the user via “htpasswd.”
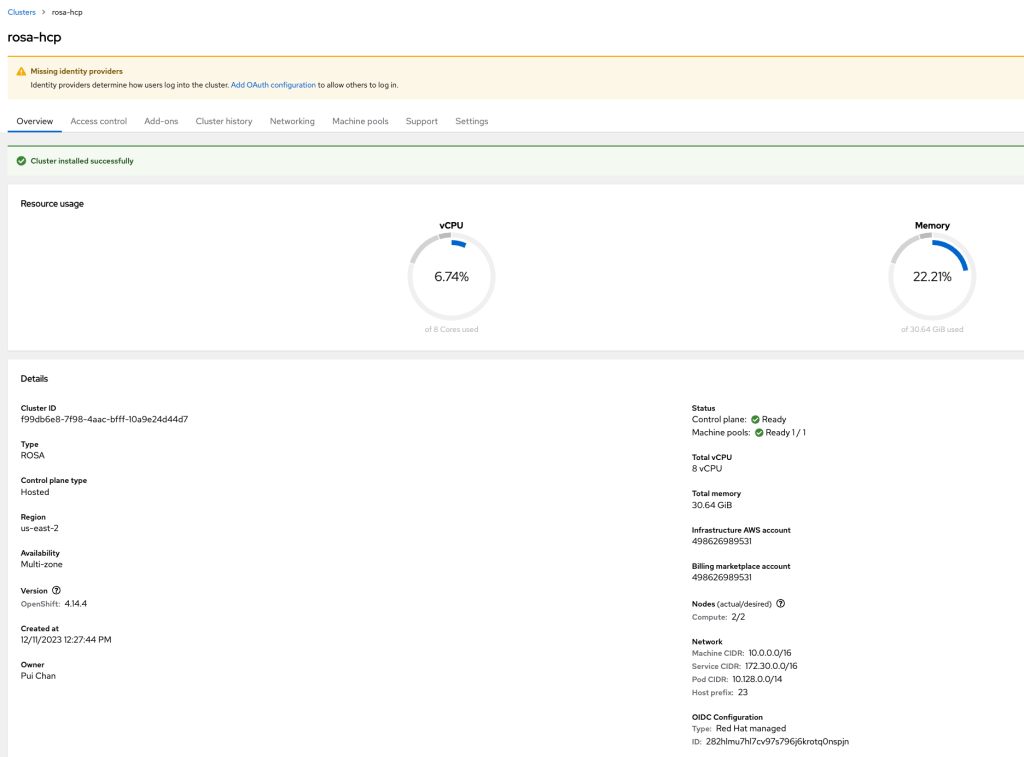
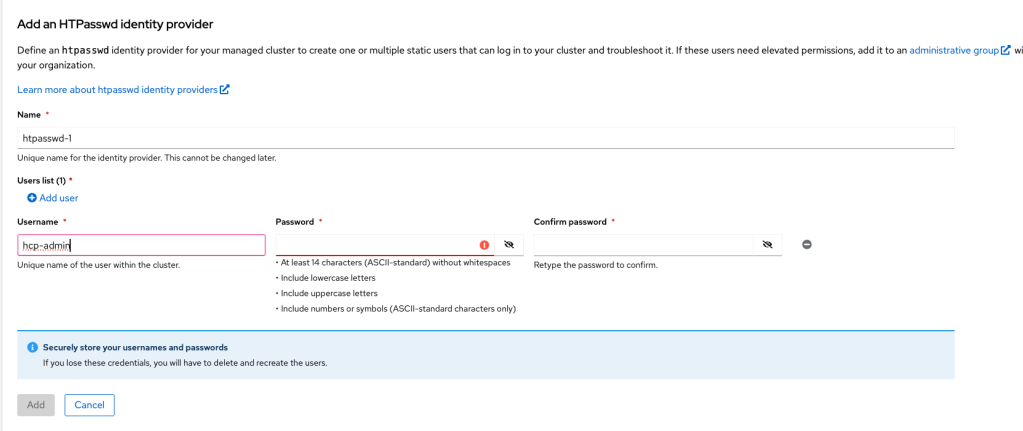
- Create a user by clicking “htpasswd.”

- Enter username and password. Then, click “Add.”
- Click the blue “Open Console” button to access the OpenShift.

- Log in to the console using the newly created username.
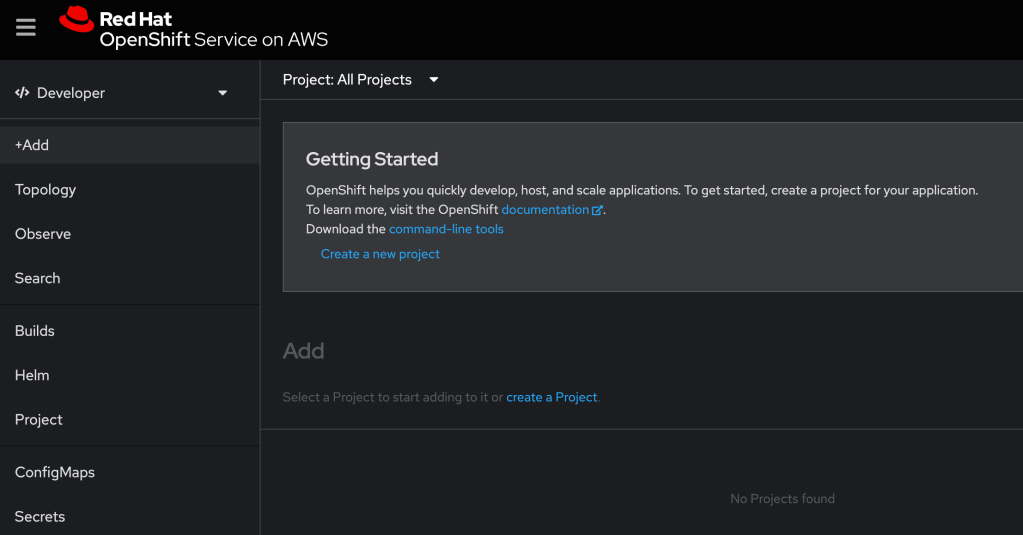
The cluster is ready for deploying applications.
Troubleshooting
- Get the following error when creating the cluster.
E: Failed to create cluster: Account <ocm-user-account> missing required RedhatManagedCluster create permission
The solution is to add “OCM Cluster Provisioner” and “OCM Cluster Viewer” roles to the “Custom default access” group from https://console.redhat.com/iam/user-access/groups
One thought on “ROSA with hosted control planes Test Drive”