In my last post on ARO 4, I have already walk through the steps to set up the Azure environment for creating ARO 4. My 2nd round testing requires the following specific requirements:
- Use only one app registration
- Not to use pull secret
Create ARO 4 Cluster with existing service principal
Create a service principal
From the previous test, I learned that the process of creating ARO 4 will create a service principal. I am going to create a service principal before creating cluster.$ az ad sp create-for-rbac --role Contributor --name all-in-one-spThis command will return the appId and password information that we will need for the ARO 4 create command later.
Adding API permission to the service principal
- Login to Azure Portal
- Go to Azure Active Directory
- Click App registrations
- Click “All applications”
- Search for “app-in-one-sp”
- Click “View API permission”
- Click “Add a permission”
- Click “Azure Active Directory Graph”
- Click “Delegated Permissions”
- Check “User.Read”
- Click “Add permission” button at the bottom.
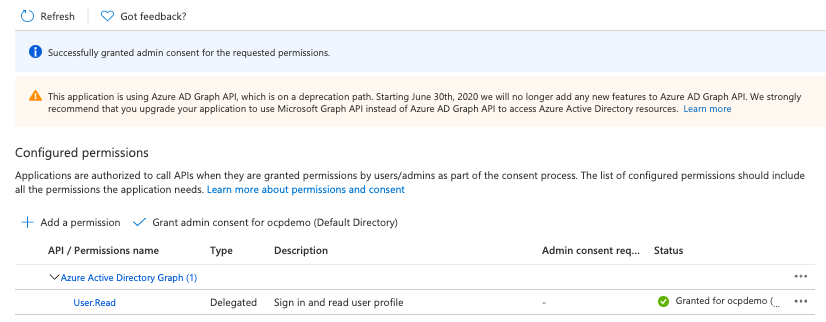
- Click “Grant admin consent …”
- A green check mark is shown under Status as shown below
Create ARO with existing service principal without pull secret
az aro create \
--resource-group $RESOURCEGROUP \
--name $CLUSTER \
--client-id <service principal application id> \
--client-secret <service principal password> \
--vnet aro-vnet \
--master-subnet master-subnet \
--worker-subnet worker-subnet \
--domain aro.ocpdemo.online
When I opted out the pull secret option, I will get the following message from the output of the azure cli.
No --pull-secret provided: cluster will not include samples or operators from Red Hat or from certified partners.
Adding api and ingress A record to the DNS zone
Using the output from the ARO 4 creation, Use the IP from the “apiserverProfile” portion is for api servier. The IP from “ingressProfiles” is for ingress. The example is shown below.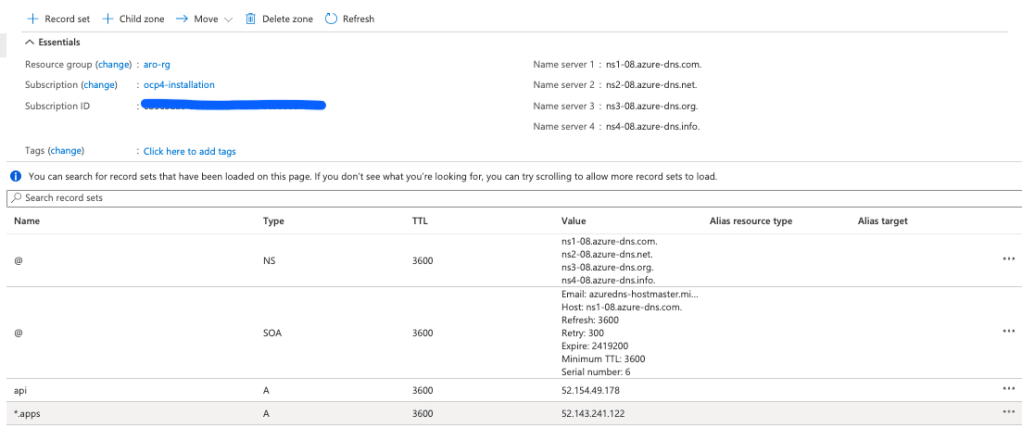
Test out the ARO cluster
az aro list-credentials \
--name $CLUSTER \
--resource-group $RESOURCEGROUP
Open the following URL from the browser and login using the kubeadmin with password from the above command
https://console-openshift-console.apps.<DNS domain>/
Integrate Azure Active Directory
The following steps are for getting the OAuth call back URL.$ oc login -u kubeadmin -p <password> https://api.<DNS domain>:6443/
$ oauthCallBack=`oc get route oauth-openshift -n openshift-authentication -o jsonpath='{.spec.host}'`
$ oauthCallBackURL=https://$oauthCallBack/oauth2callback/AAD
$ echo $oauthCallBackURL
where AAD is the name of the identity provider for OAuth configuration on OpenShift
Add the OAuth call back URL to the same service principal
- Go to Azure Active Directory
- Click App registration
- Click on “all-in-one-sp” under all applications
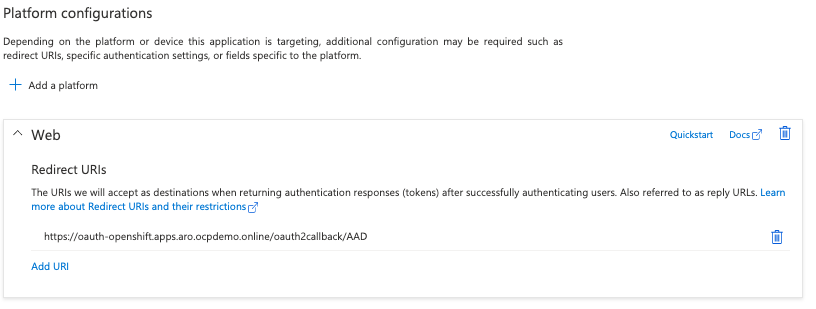
- Under Overview, click right top corner link for “Add a Redirect URI”
- Click “Add a platform”
- Click Web Application from the list of Configure platforms
- Enter the value of the oauthCallBackURL from the previous step to the “Redirect URIs”
- Click configure
Create a manifest file
cat > manifest.json<< EOF
[{ "name": "upn",
"source": null,
"essential": false,
"additionalProperties": []
},
{ "name": "email",
"source": null,
"essential": false,
"additionalProperties": []
}]
EOF
Update service principal with the manifest
$ az ad app update \
 --set optionalClaims.idToken=@manifest.json \
 --id <Service Principal appId>
Create secret to store service principal’s password
oc create secret generic openid-client-secret-azuread \
--namespace openshift-config \
--from-literal=clientSecret=<service principal password>
Create OAuth configuration
apiVersion: config.openshift.io/v1
kind: OAuth
metadata:
  name: cluster
spec:
  identityProviders:
  - name: AAD
    mappingMethod: claim
    type: OpenID
    openID:
      clientID: xxxxxxxx-xxxx-xxxx-xxxx-xxxxxxxxxxxx
      clientSecret:
        name: openid-client-secret-azuread
      extraScopes:
      - email
      - profile
      extraAuthorizeParameters:
        include_granted_scopes: "true"
      claims:
        preferredUsername:
        - email
        - upn
        name:
        - name
        email:
        - email
      issuer: https://login.microsoftonline.com/xxxxxxxx-xxxx-xxxx-xxxx-xxxxxxxxxxxx
Apply the OAuth YAML
oc apply -f openid.yaml
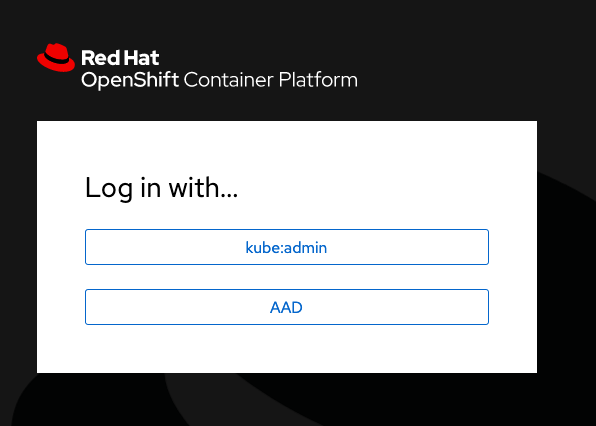
Login openshift console via AAD


One thought on “ARO 4 and AAD Integration Take 2”