I have an opportunity to try out the pre-GA ROSA. ROSA is a fully managed Red Hat OpenShift Container Platform (OCP) as a service and sold by AWS. I am excited to share my experience on ROSA. It installs OCP 4 from soup to nuts without configuring hosted zone and domain sever. As a developer, you may want to get the cluster up and running, so you can start doing the real work :). There are customization options with ROSA, but I am going to leave it for later exploration.
I am going to show you the steps I took to create OCP via ROSA. There are more use cases to test. I hope this blog will give you a taste of ROSA.
Creating OpenShift Cluster using ROSA Command
Since it is a pre-GA version, I download the ROSA command line tool from the here and have aws-cli available where I run the ROSA installation.
- I am testing from my MacBook. I just move the “rosa” command line tool to /usr/local/bin/.
- Verify that your AWS account if it has the necessary permissions using
rosa verify permissions:

- Verify that your AWS account has the necessary quota to deploy an Red Hat OpenShift Service on AWS cluster via
rosa verify quota --region=<region>:

- You will need an account to log in to cloud.redhat.com. If you don’t have a user name created, please register as a user for free.
- After login to cloud.redhat.com, go to https://cloud.redhat.com/openshift/token/rosa
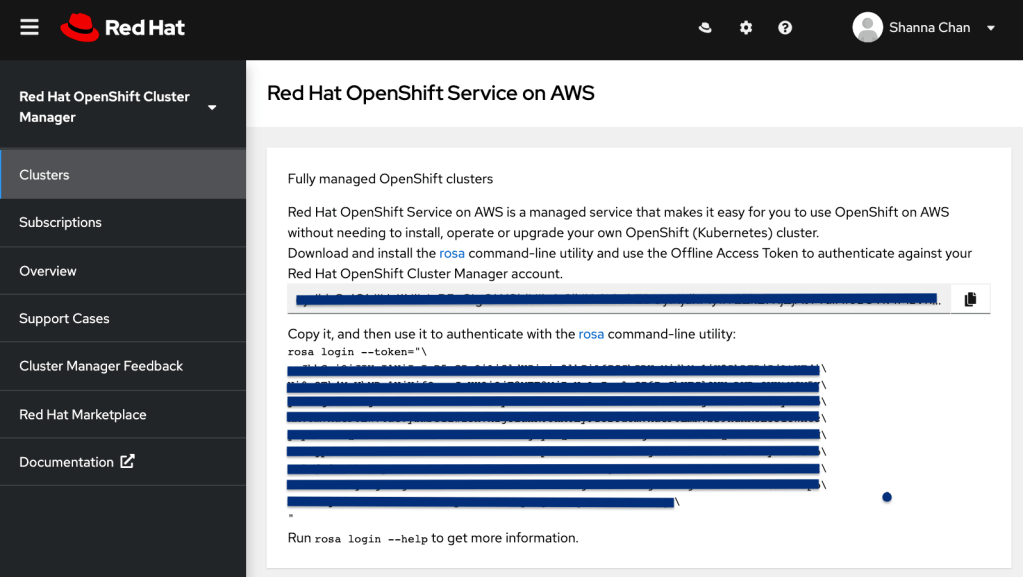
- Log in your Red Hat account with ROSA command using
rosa login --token=<token from cloud.redhat.com>:

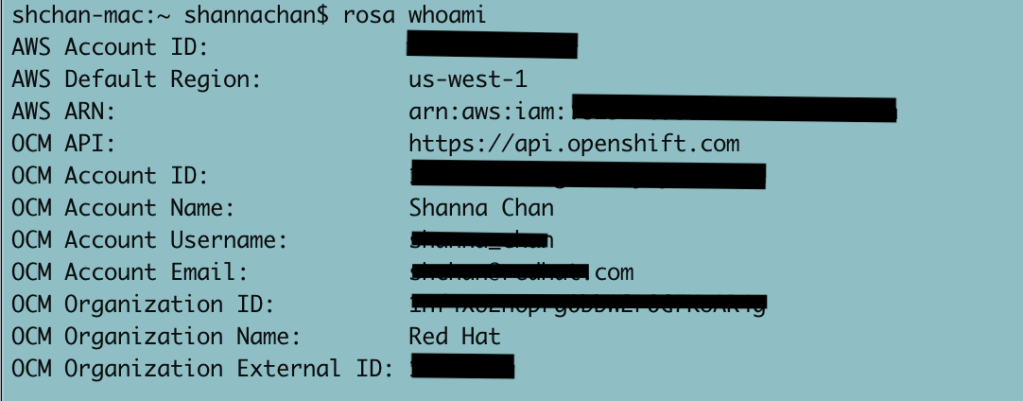
- Verify the AWS setup using
rosa whoami:
- Initialize the AWS for the cluster deploy via
rosa init:
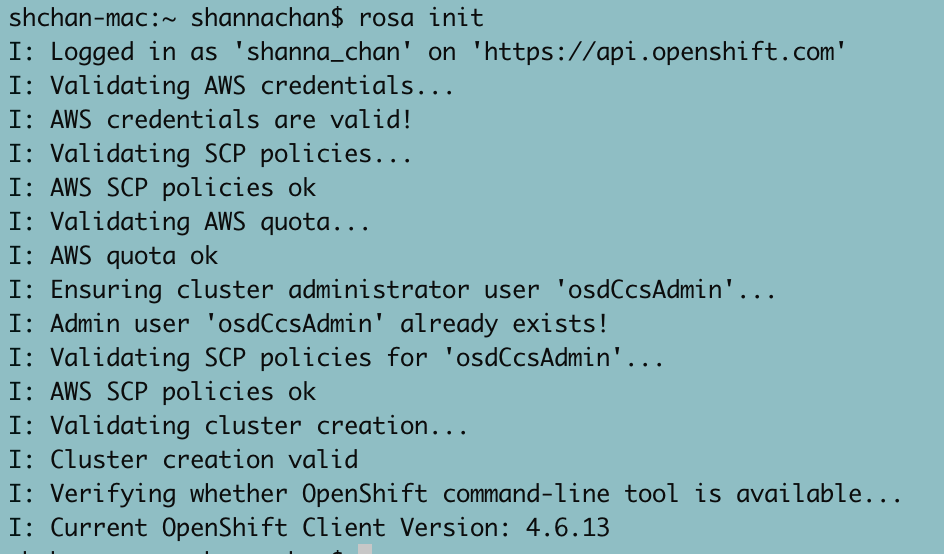
- Since I have OpenShift Client command line installed, it shows the existing OpenShift Client version. If you don’t have it, you can download the OpenShift Client command line via
rosa download ocand make it available from your PATH. - Create ROSA via
rosa create clustercommand below:
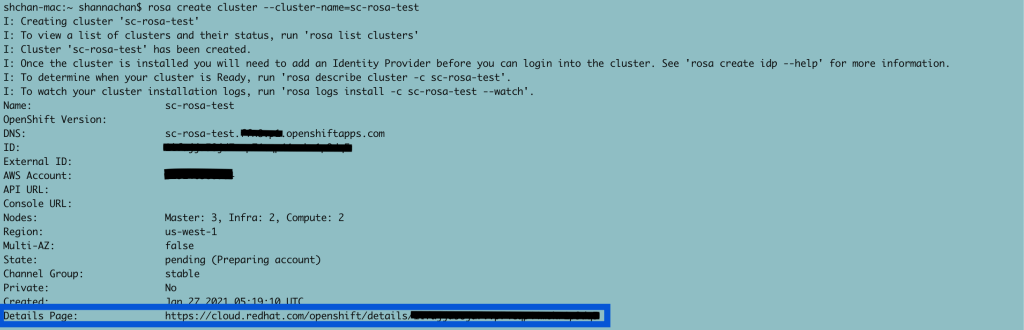
Note: rosa create cluster -i with the interactive option, it provides customization for ROSA installation, such as multiple AZ, existing VPC, subnets, etc…
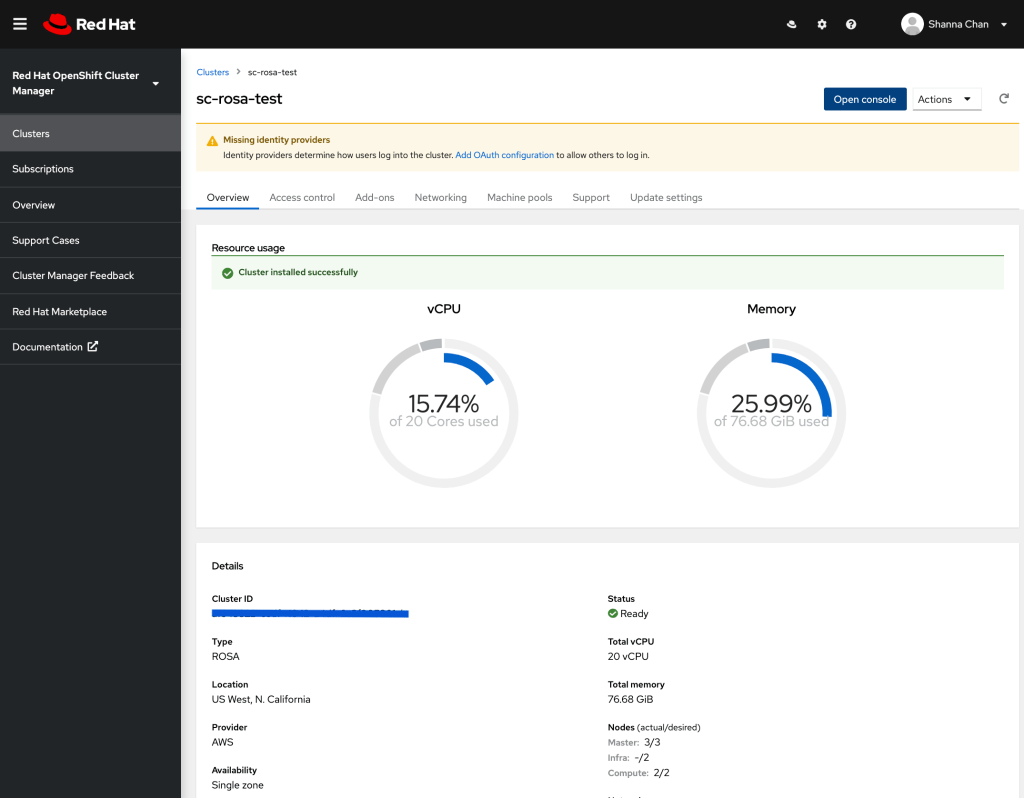
- Copy the URL from
Details Pageto a browser and you can view the status for your ROSA installation.

- If you click
View logs, you can watch the log from here until the cluster is completed.

- When you see this screen, it means the cluster is created:
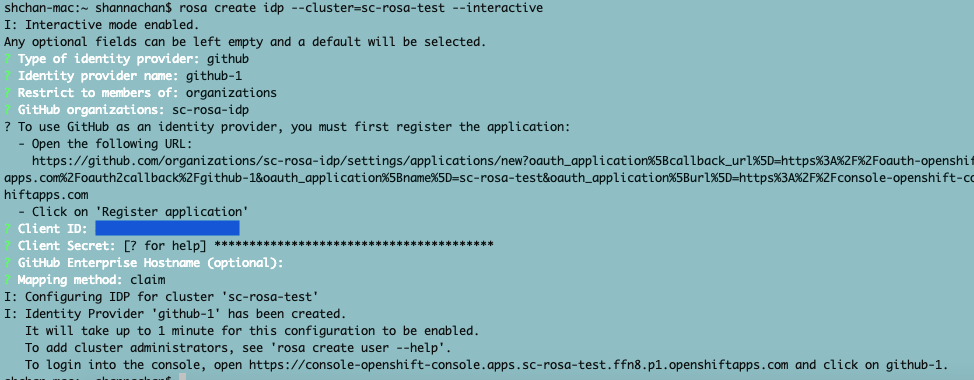
- Now, you need to have a way to log into the OCP cluster. I created an organization called
sc-rosa-idpon Github viarosa create idp --cluster=sc-rosa-test --interactiveas show below.
- Log into the OCP console via the URL from the output from last step:
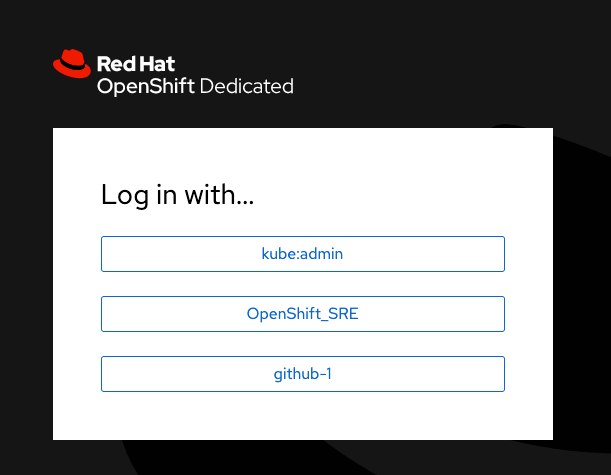
- Click github-1 –> redirect to authorize to the organization from Github -> log in Github.
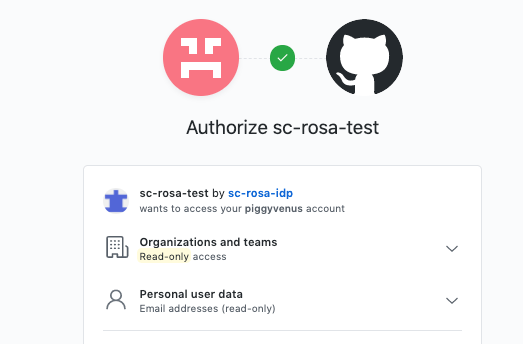
- Once you log in with your Github credential, we will see the OCP developer console:
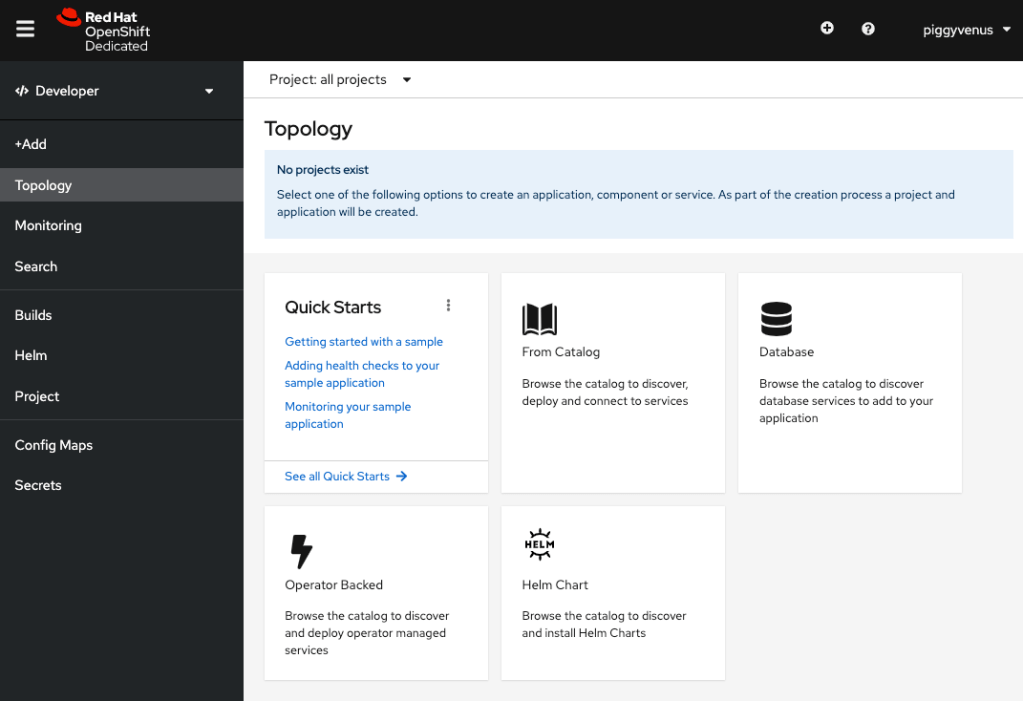
- Grant cluster-admin role to the github user using
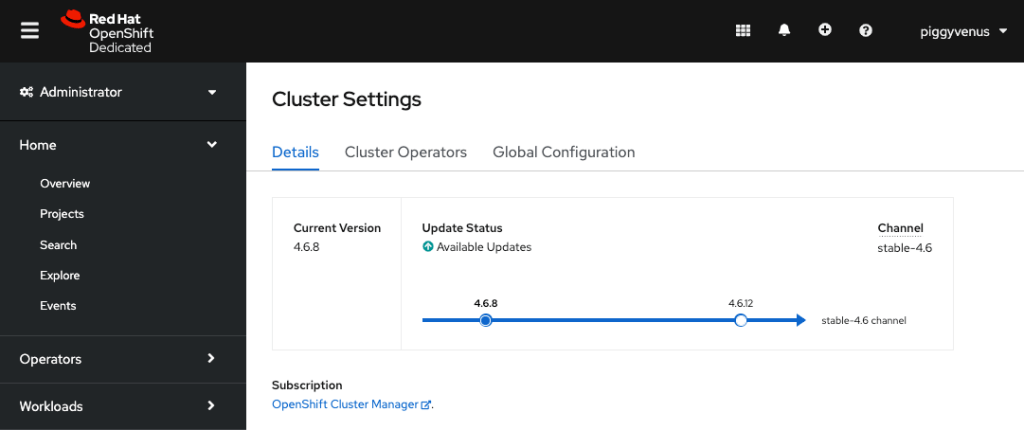
rosa grant user cluster-admin --user <github user in your organization> --cluster <name of your rosa cluster>. - Click Administrator on the top left and access the OCP admin console with Admin access as shown below:
Delete ROSA
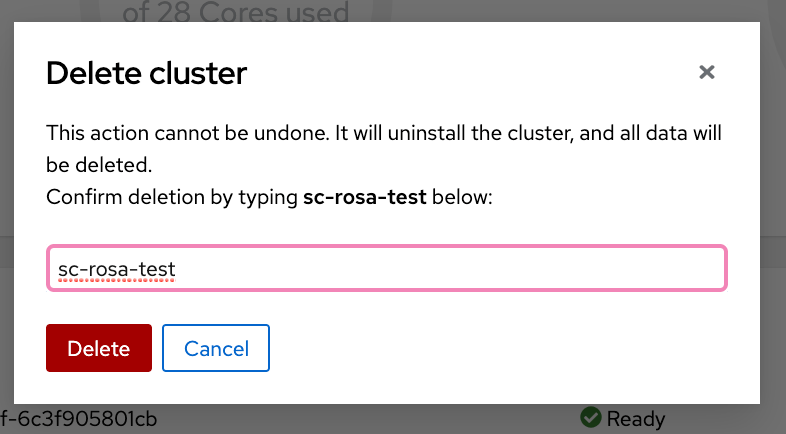
- Go to the cluster from cloud.redhat.com, from Action –> select
Delete cluster:

- Enter the name of the cluster and click
Delete:
- The cluster shows as
Uninstalling:

Although it is a pre-GA without AWS console integration, I found it very easy to get my cluster up and running. If you cannot wait for GA, you can always request the preview access from here. Get a head start with ROSA!

2 thoughts on “Test Run Pre-GA Red Hat OpenShift on AWS (ROSA)”