- Go to Administrator Console
- Create a new project called keycloak
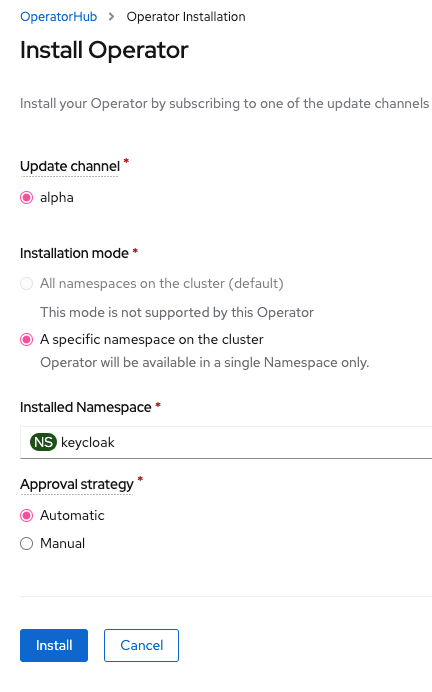
- Click Operator
- Click OperatorHub
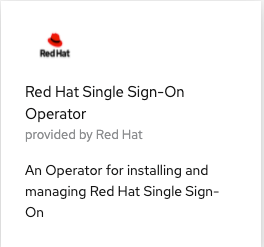
- Click on the Red Hat Single Sign-On Operator
- Click Install
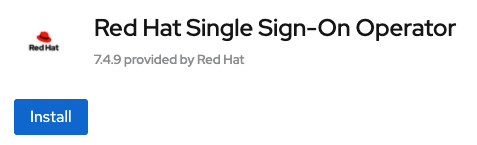
- Click Install
- Click “Create instance” in the Keycloak tile

- The Keycloak CR is shown below
apiVersion: keycloak.org/v1alpha1
kind: Keycloak
metadata:
  name: keycloak-dev
  labels:
    app: keycloak-dev
  namespace: keycloak
spec:
  externalAccess:
    enabled: true
  instances: 1
- Click Create
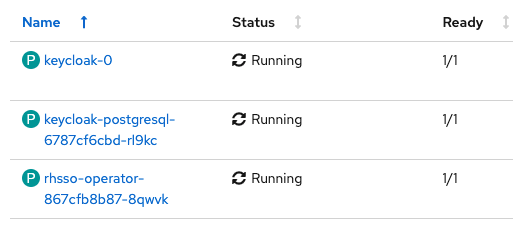
- Go to Workloads > Pods
- Click the keycload-dev creation and return “true”
$ oc get keycloak keycloak-dev -n keycloak -o jsonpath='{.status.ready}'
true
- Operators > Installed Operators > Red Hat Single Sign-On Operator
- Click Create instance
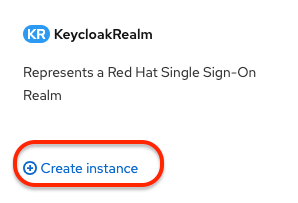
- Enter the KeycloakRealm as shown below
apiVersion: keycloak.org/v1alpha1
kind: KeycloakRealm
metadata:
  name: keycloakrealm
  labels:
    realm: keycloakrealm
  namespace: keycloak
spec:
  instanceSelector:
    matchLabels:
      app: keycloak-dev
  realm:
    enabled: true
    displayName: "Keycloak-dev Realm"
    realm: keycloakrealm
- Click Create
- Make sure it returns true
$ oc get keycloakrealm keycloakrealm -n keycloak -o jsonpath='{.status.ready}'
true
- Get the Keycloak Admin user secret name
$ oc get keycloak keycloak-dev --output="jsonpath={.status.credentialSecret}"
credential-keycloak-dev
- Get the Admin username and password
$ oc get secret credential-keycloak-dev -o go-template='{{range $k,$v := .data}}{{printf "%s: " $k}}{{if not $v}}{{$v}}{{else}}{{$v | base64decode}}{{end}}{{"\n"}}{{end}}'
- Run the following to find out the URLs of Keycloak:
KEYCLOAK_URL=https://$(oc get route keycloak --template='{{ .spec.host }}')/auth &&
echo "" &&
echo "Keycloak:                 $KEYCLOAK_URL" &&
echo "Keycloak Admin Console:   $KEYCLOAK_URL/admin" &&
echo "Keycloak Account Console: $KEYCLOAK_URL/realms/myrealm/account" &&
echo ""
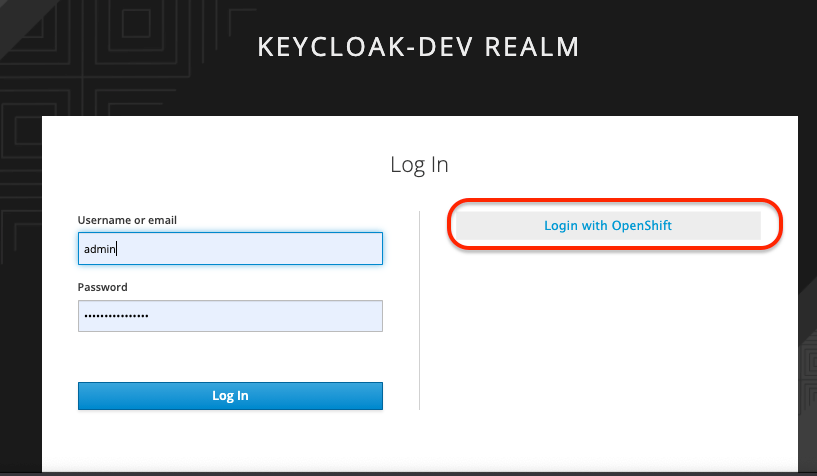
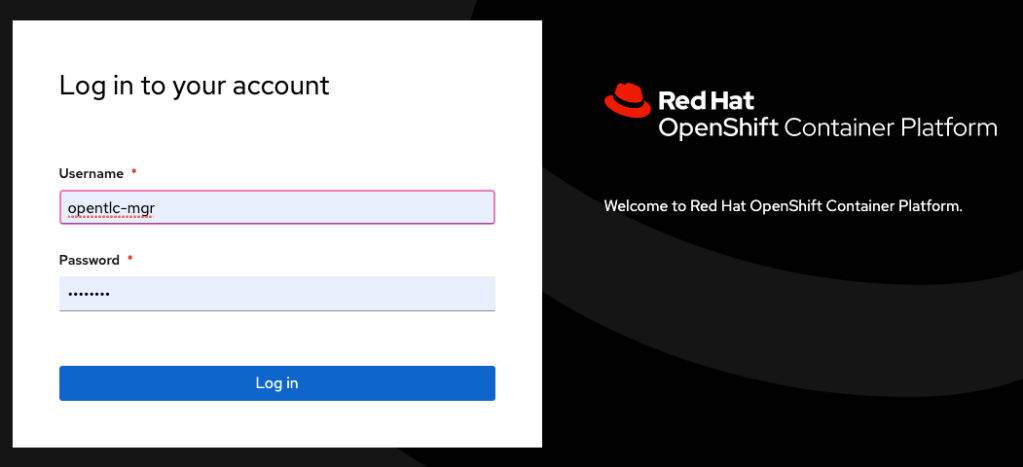
- Open a browser with the Admin URL
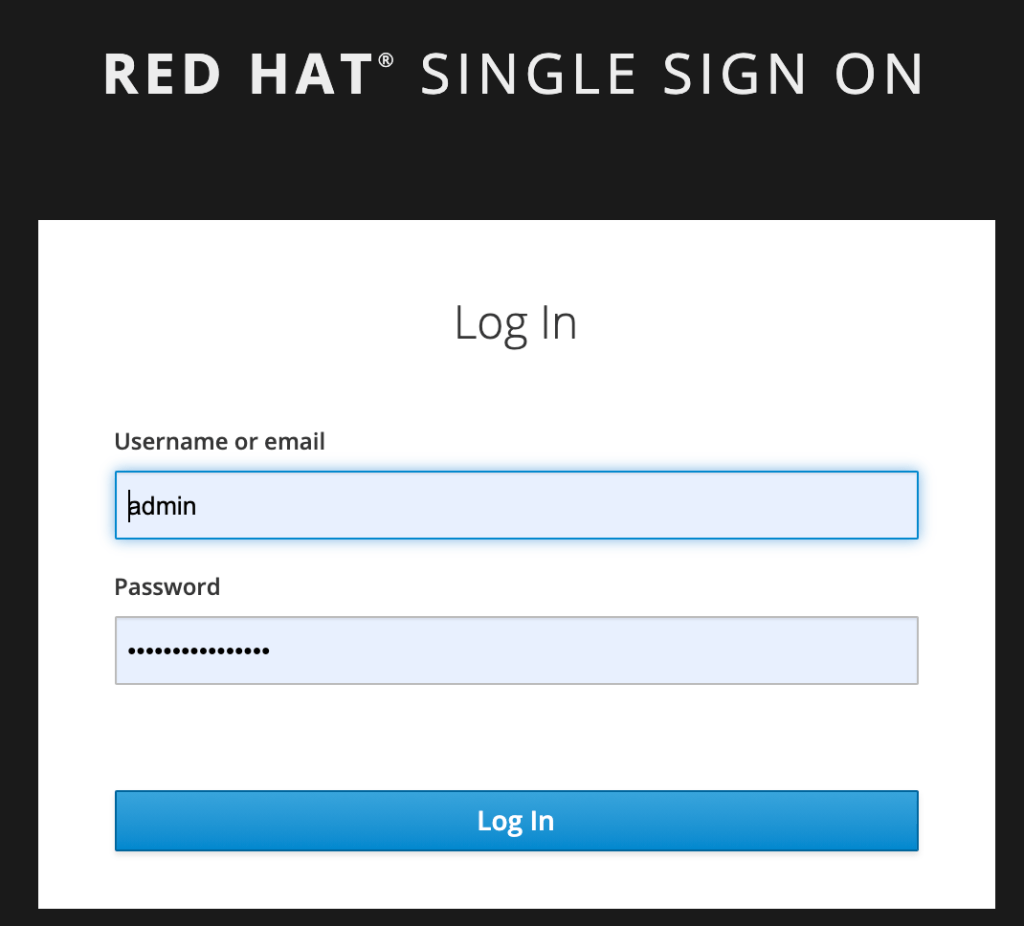
- Login with the admin username and password
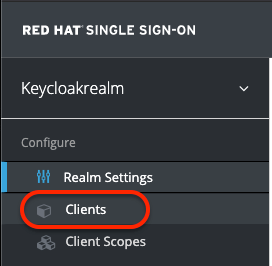
- Click Client on the left nav
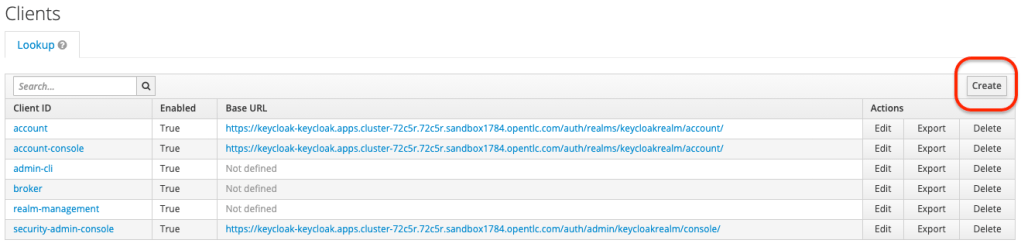
- Click Create on the right top corner
- Enter the Argocd URL and the name of the client as ‘argocd’
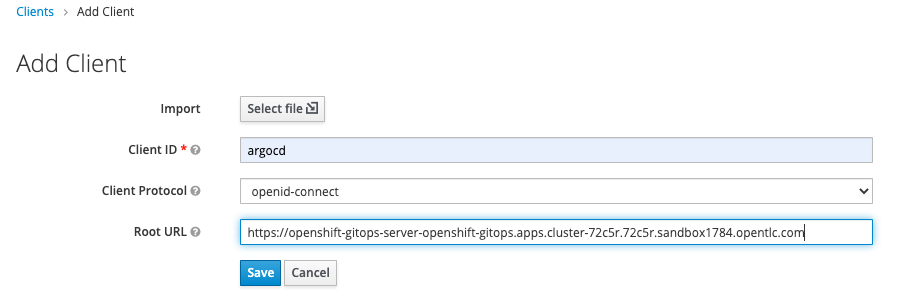
- Click Save
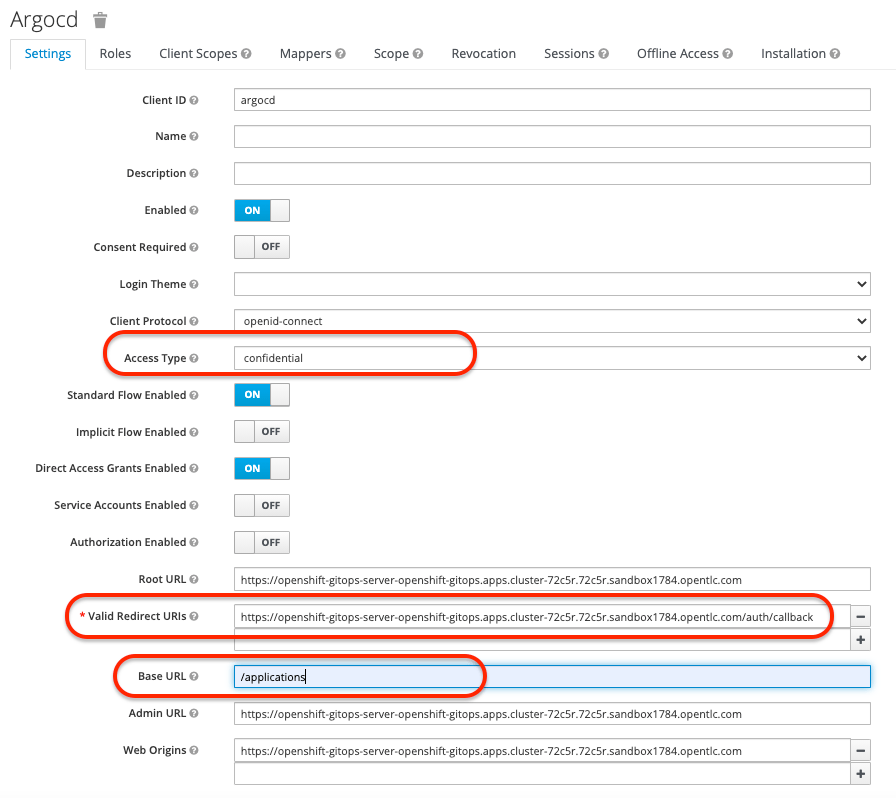
- Set Access Type to
confidential - Set Valid Redirect URIs to
<argocd-url>/auth/callback - Set Base URL to
/applications
- Click Save
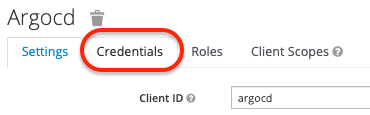
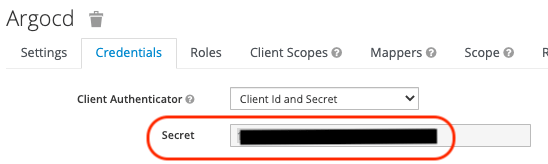
- Scroll up and click “Credential” tab
- IMPORTANT: Copy the secret and you will need this later
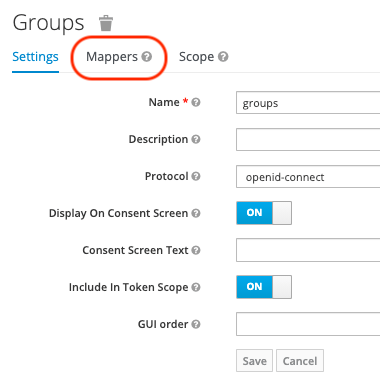
- Configure the Group claim
- Click Client Scope on the left nav
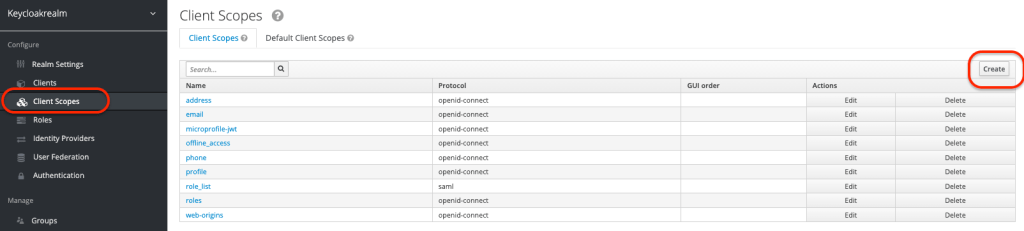
- Click Create on the right
- Set Name as
group - Set Protocol as
openid-connecgt - Display On Content Scope: on
- Include to Token Scope: on
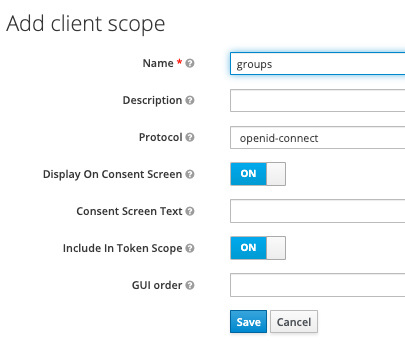
- Click save
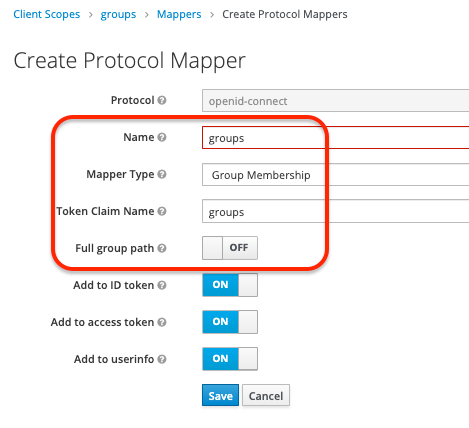
- Click “Mappers” tab
- Click Create on the top right
- Set name as groups
- Set Mapper Type as
Group Membership Set Token Claim Name asgroups`
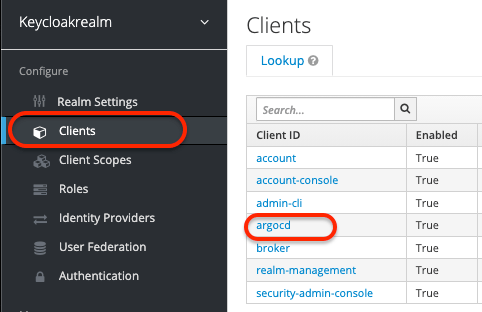
- Click Clients on the left nav
- Click argocd
- Click “Client Scopes” tab
- Select groups > Add selected

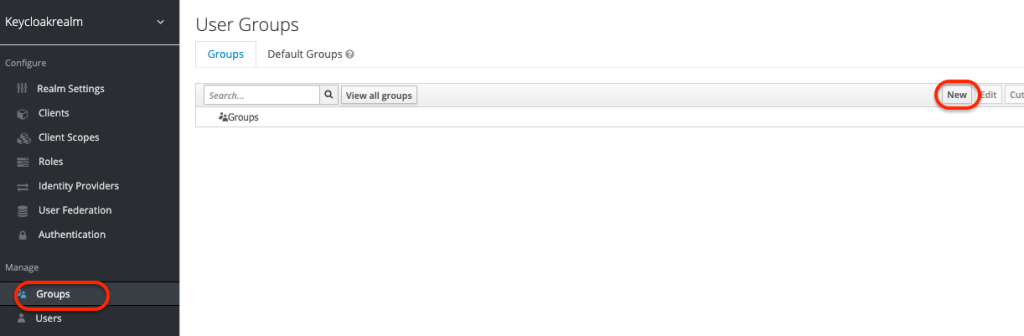
- Click Groups on left nav
- Click Create
- Set the name as
ArgoCDAdmins - Click Save

- Encode the argocd credential you saved before
echo -n '<argocd credential>' | base64
- Edit the argocd-secret
oc edit secret argocd-secret -n openshift-gitops
- add the “oidc.keycloak.clientSecret: <encoded credential> as shown below.
apiVersion: v1
kind: Secret
metadata:
  name: argocd-secret
data:
  oidc.keycloak.clientSecret: <encoded credential>
- Edit argocd Custom Resource
oc edit argocd -n openshift-gitops
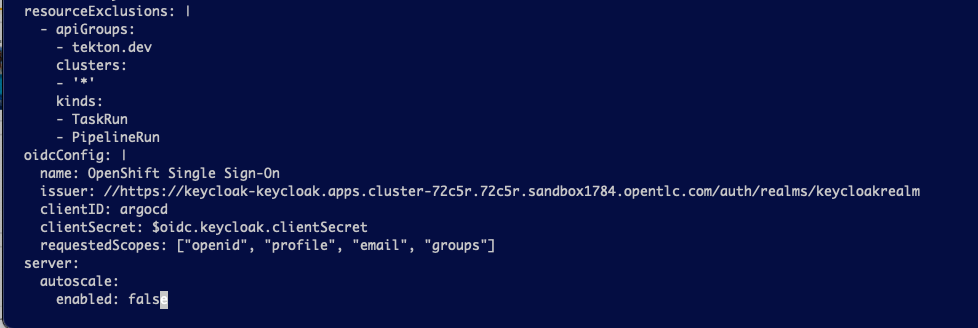
- Add the following into the yaml. Make sure update the issuer to make your settings
oidcConfig: |
    name: OpenShift Single Sign-On
    issuer: https://keycloak-keycloak.apps.cluster-72c5r.72c5r.sandbox1784.opentlc.com/auth/realms/keycloakrealm
    clientID: argocd
    clientSecret: $oidc.keycloak.clientSecret
    requestedScopes: ["openid", "profile", "email", "groups"]
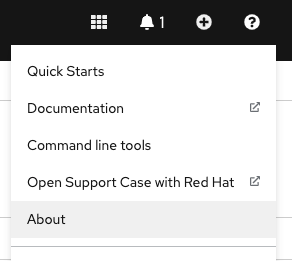
- From OpenShift Console top right corner, click About
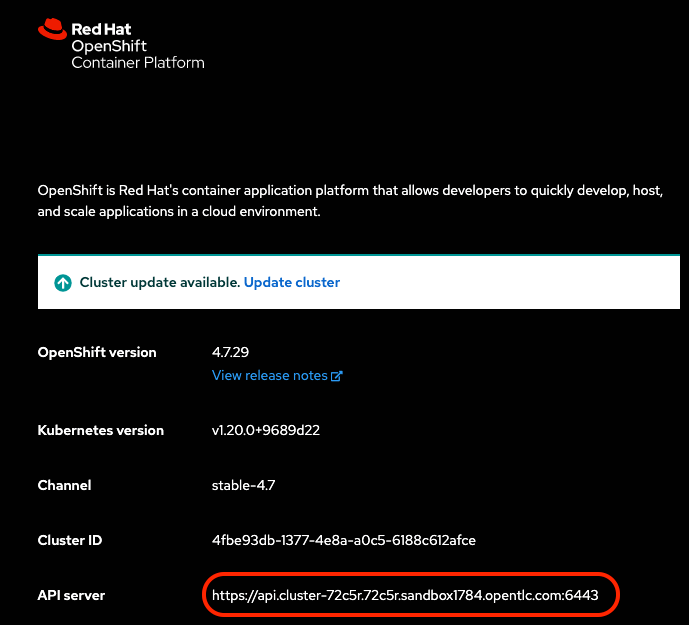
- Copy the API URL from the following screen
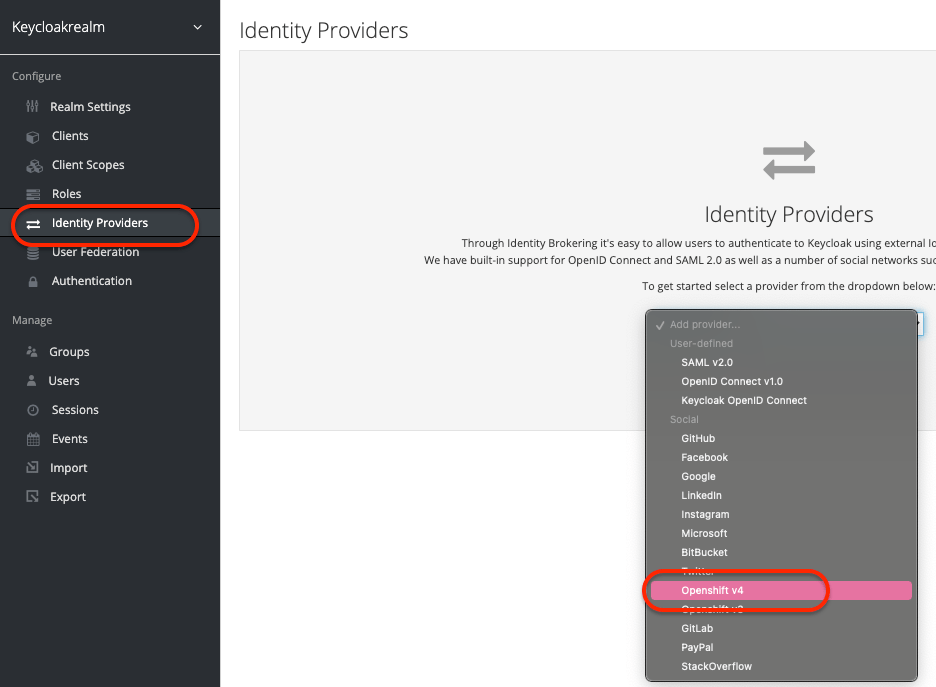
- Go back to Keycloak, click Identity Providers on left nav
- Select OpenShift v4 from the dropdown list
- Set Display Name: Login with Openshift
- Set Client ID: keycload-broker
- Set Client Secret: <anything that you can remember>
- Set Base URL: API URL
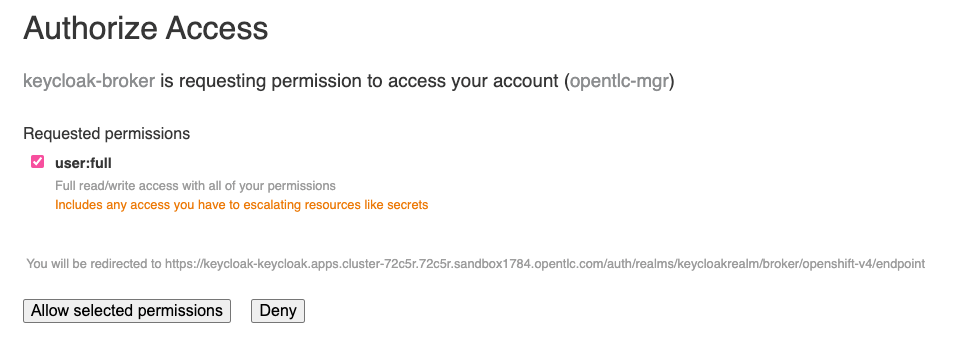
- Set Default Scopes: user:full

- Click Save
- Add an Oauth Client
oc create -f <(echo '
kind: OAuthClient
apiVersion: oauth.openshift.io/v1
metadata:
 name: keycloak-broker
secret: "12345"
redirectURIs:
- "https://keycloak-keycloak.apps.cluster-72c5r.72c5r.sandbox1784.opentlc.com/auth/realms/keycloakrealm/broker/openshift-v4/endpoint"
grantMethod: prompt
')
- Configure the RBAC
oc edit configmap argocd-rbac-cm -n openshift-gitops
- Modify the data as shown below
apiVersion: v1
kind: ConfigMap
metadata:
  name: argocd-rbac-cm
data:
  policy.csv: |
    g, ArgoCDAdmins, role:admin
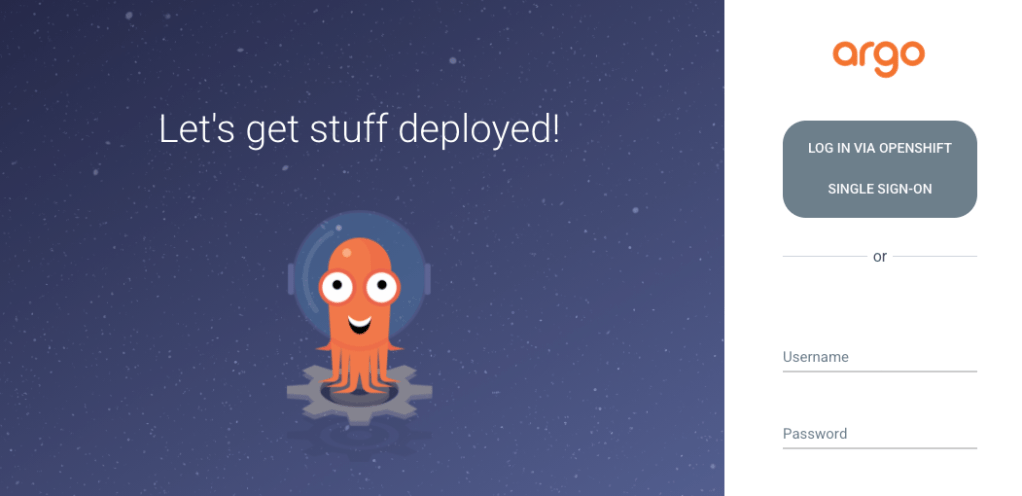
- Go to the Argocd URL, you will see the SSO icon. Click “LOG IN VIA OPENSHIFT”
- Click Log in Openshift