I tried to trace the cost for ROSA HCP service from the AWS console and thought I could just get the report from the AWS billing feature. However, the Cost Explorer did not provide the ROSA HCP charges from the AWS console.
I am setting up the OpenShift Cost Management Operator and exploring if I can get the necessary information.
Step to set up Cost Management Operator
- Log in to the OpenShift Console as an administrator
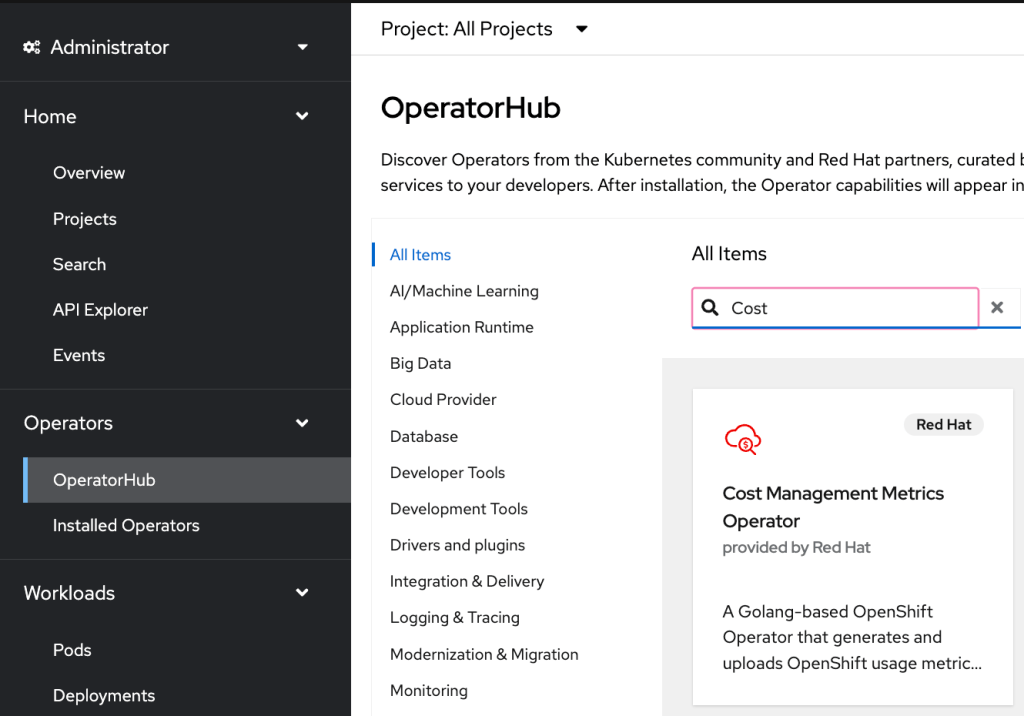
- Go to Operators under the left menu and click OperatorHub, click on Cost Management Metrics Operator
- Click “Install”
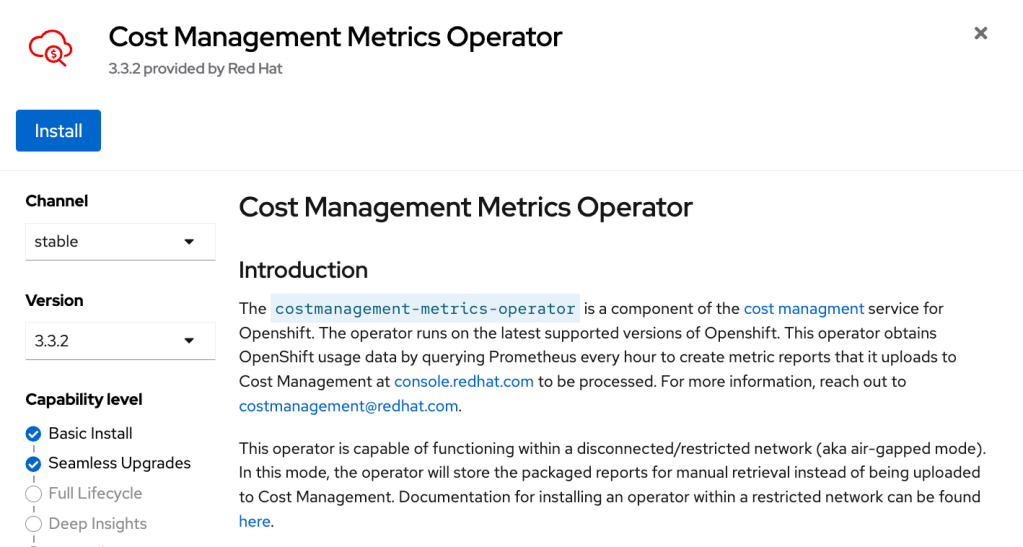
- Take the default value and click “Install.”
- Wait for the Operator to completed the installation
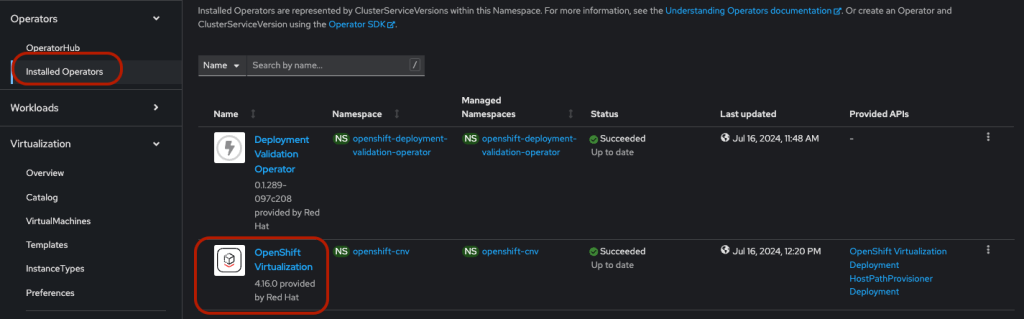
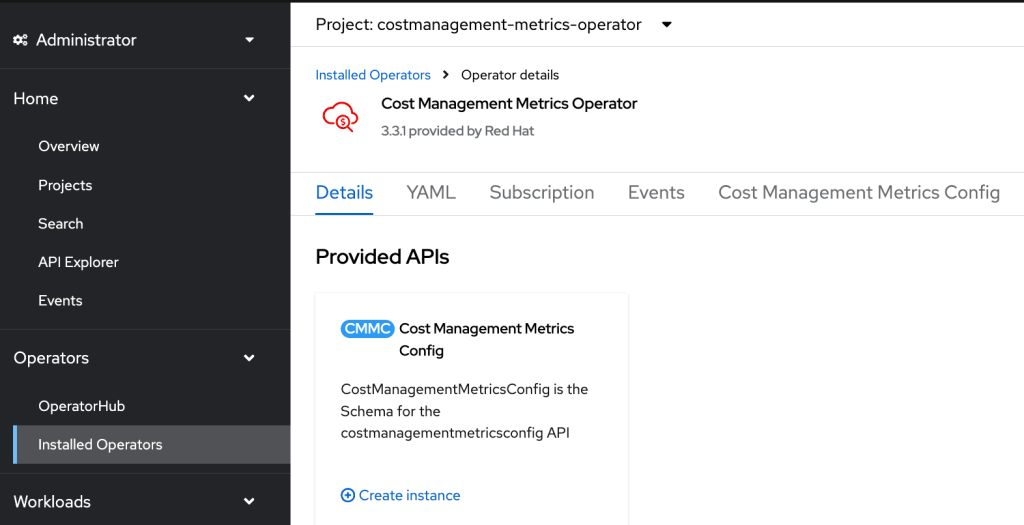
- Go to Operators under the left menu and click Installed Operators
- The “Cost Management Metrics Operator” should be on the list, and click on it
- Click “Create instance”
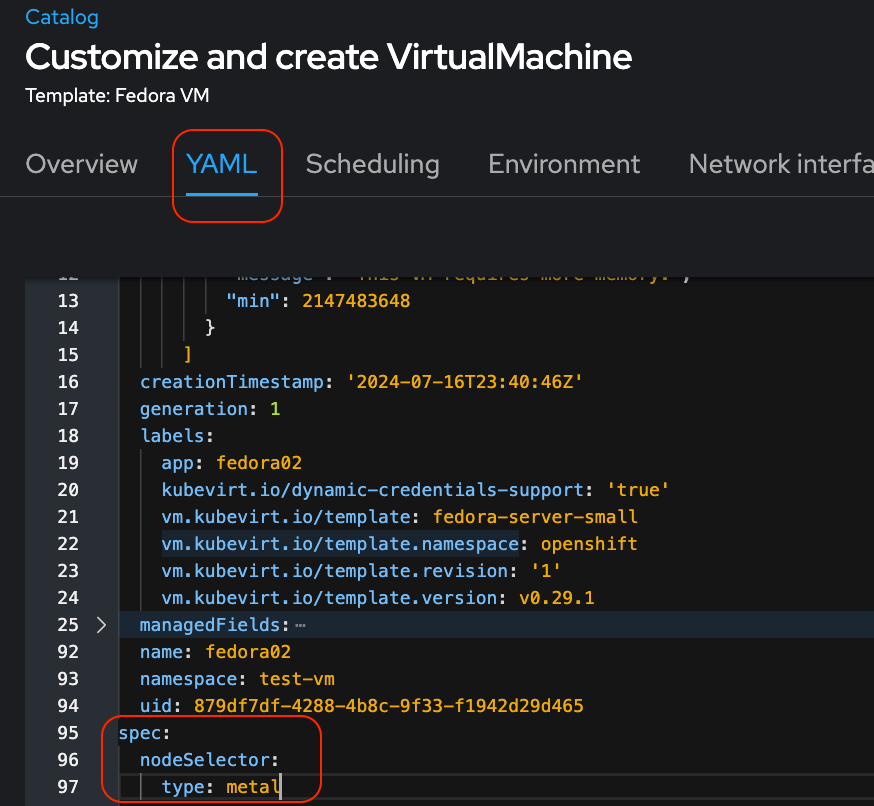
- The YAML view for the CostManagementMetricsConfig under the project costmanagement-metrics-operator, update the source in the YAML with “create_source: true” and a name for the source.
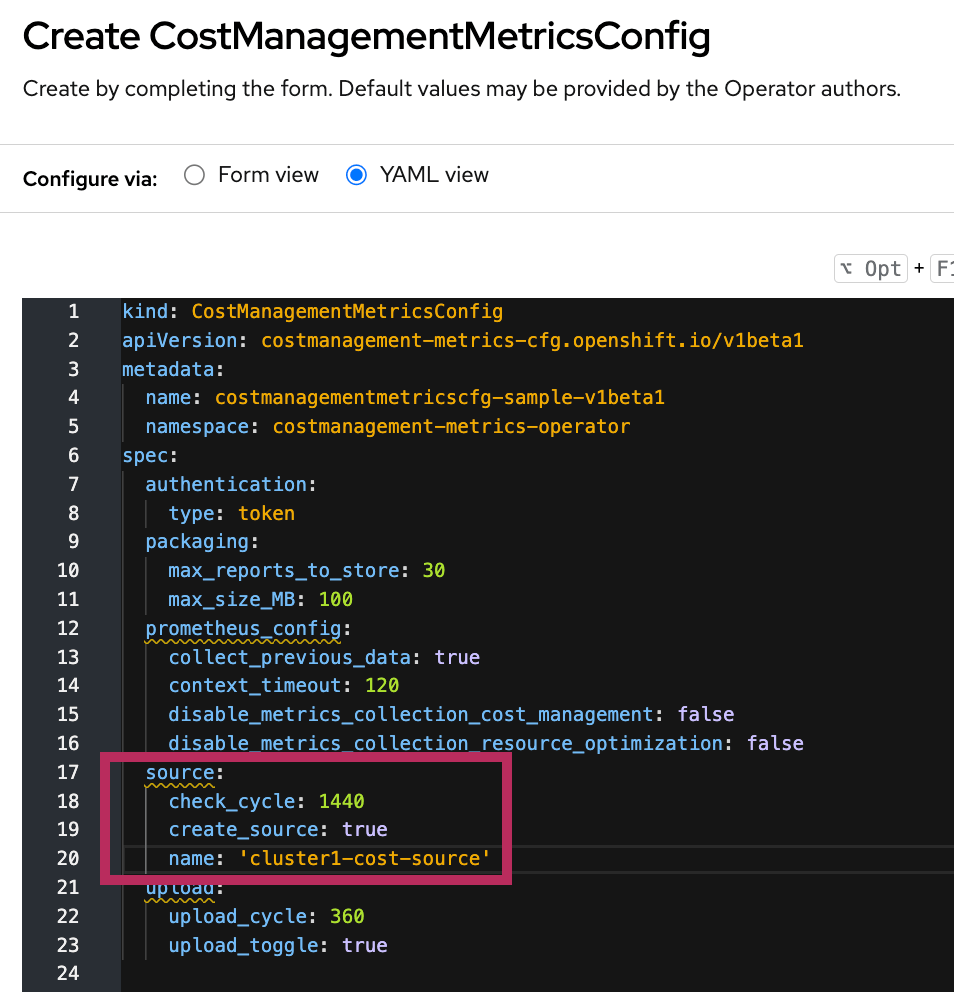
- Click “Create.”
Set up on the Red Hat Hybrid Cloud Console
- Once you log into the Red Hat Hybrid Cloud Console (OCM), you will find the integration setting as shown below.
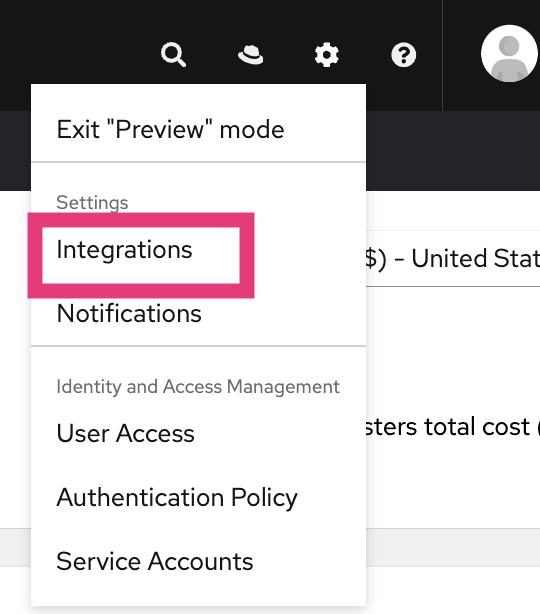
- Click integration. The source name was added to the cost management operator CR should show up here under the “Red Hat” tab.

- Click Integration Setting and select Service Accounts
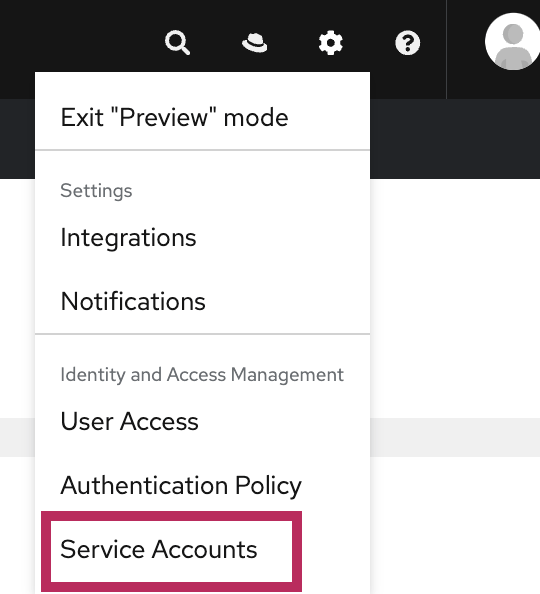
- Click “Create service account” and enter the name & description of service account.
- Click “Create.”
- Copy the “client id” and “client secret.”
- Under “User Access” on the left menu, select “Groups.”
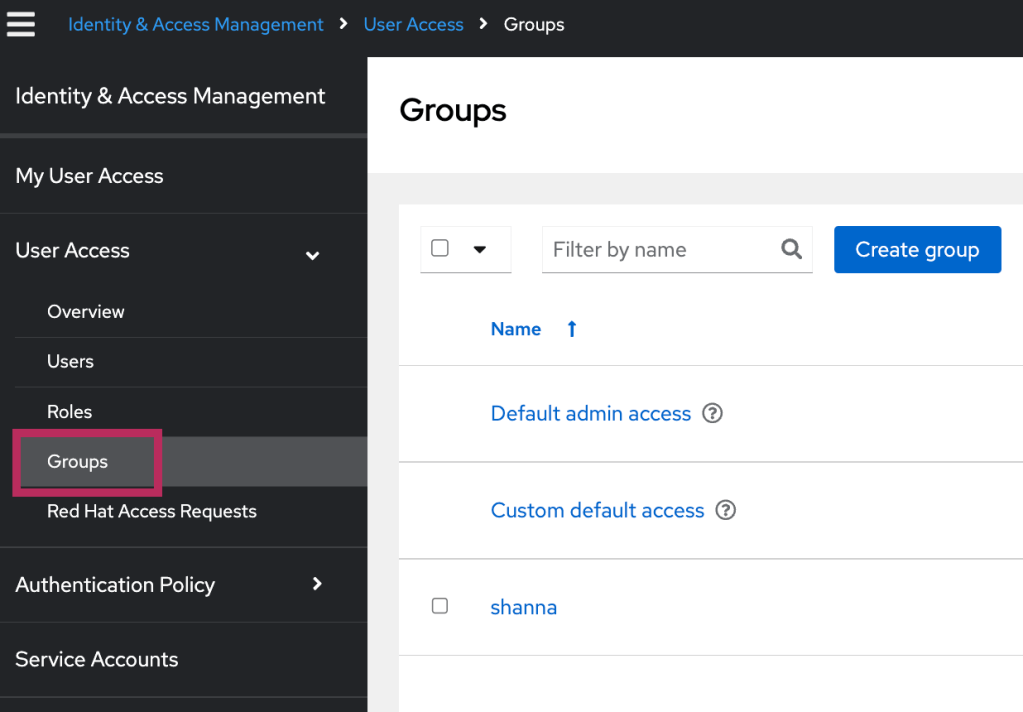
- Click on the group with cost management roles -> click the “Service accounts” tab -> click “Add service account.”
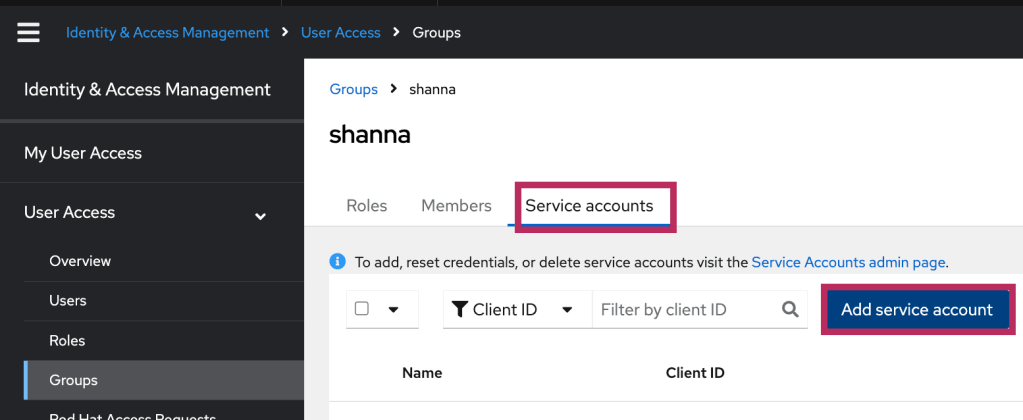
- Select the newly created service account from the last step -> click “Add to group.”
Update the Cost Management CR with the service account
- Log in to the OpenShift Console as an administrator
- Create a secret for the service account we created in the last step.
- Will need to use the copied “client_id” and “client_secret” from the service account.
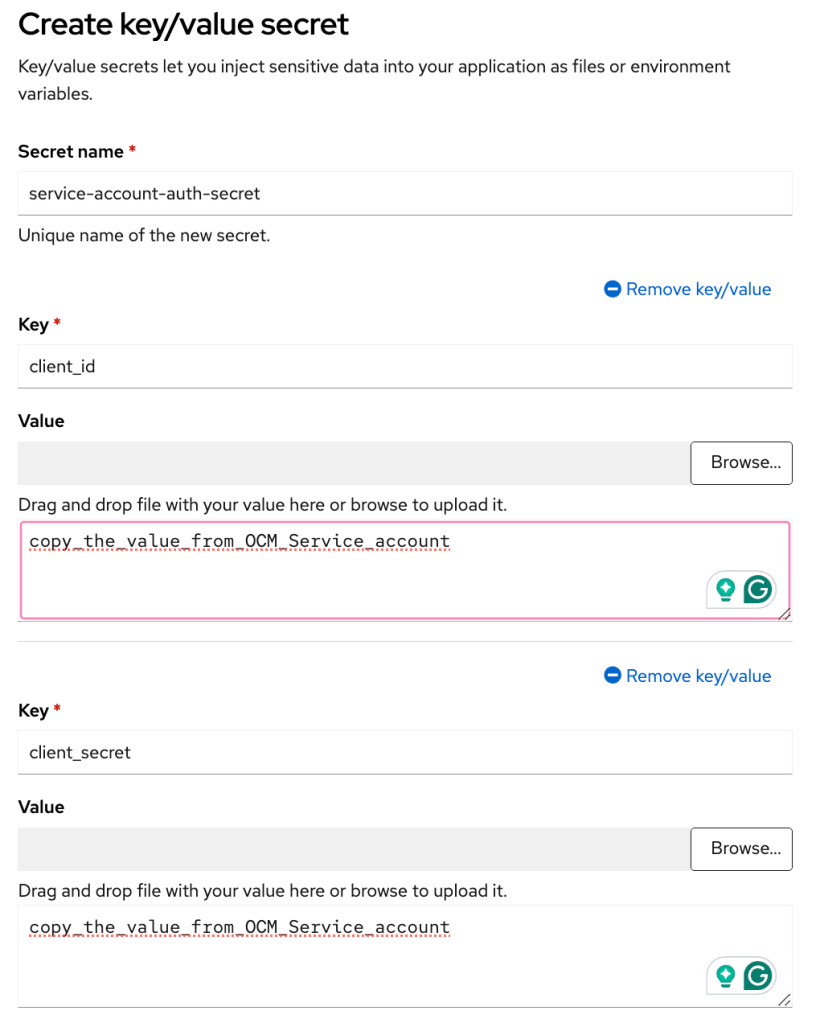
- Under the project “costmanagement-metrics-operator, click create -> select Key/Value secret

- Add the values for “client_id” and “client_secret” and click “Create.”
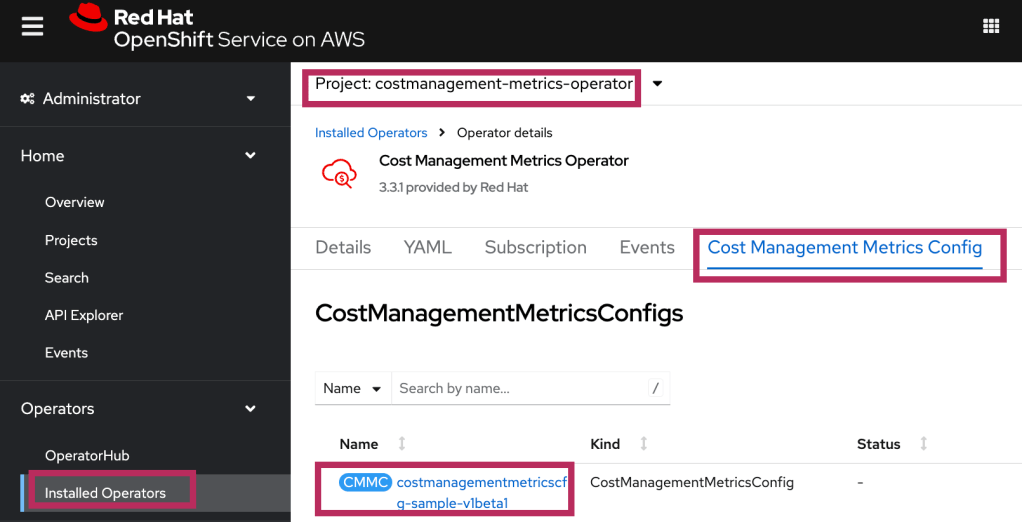
- Go to Operators under the left menu and click Installed Operators
- Click “Cost Management Metrics Operator” -> Click “Cost Management Metic Config” tab -> click the CMMC CR
- Under the YAML view, update the value of the secret_name and type under “authentication” section. The name of the secret matches the name of the secret you created in the previous step.

- Click “Save.”
- Use OCP CLI to run this command:
$ oc label namespace costmanagement-metrics-operator insights_cost_management_optimizations='true'
- Go back to OCM console -> Red Hat OpenShift service -> cost management.
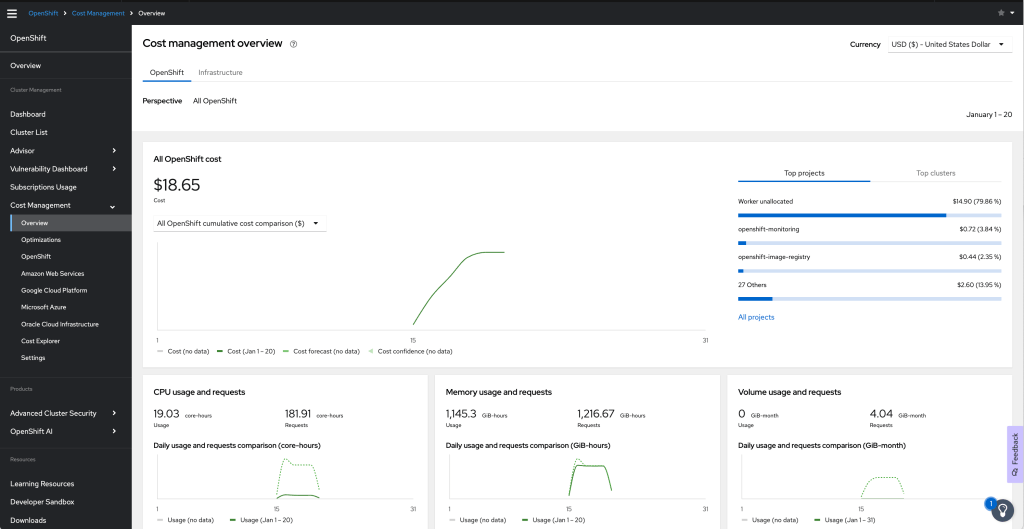
- I can filter the view per cluster under Cost Management -> OpenShift using group by “Cluster.” Below is a view of a cluster

- Click “Cost Explorer” under “Cost Management” on the menu -> select “Amazon Web Service filtered by OpenShift” under Perspective and select “Group by cluster”
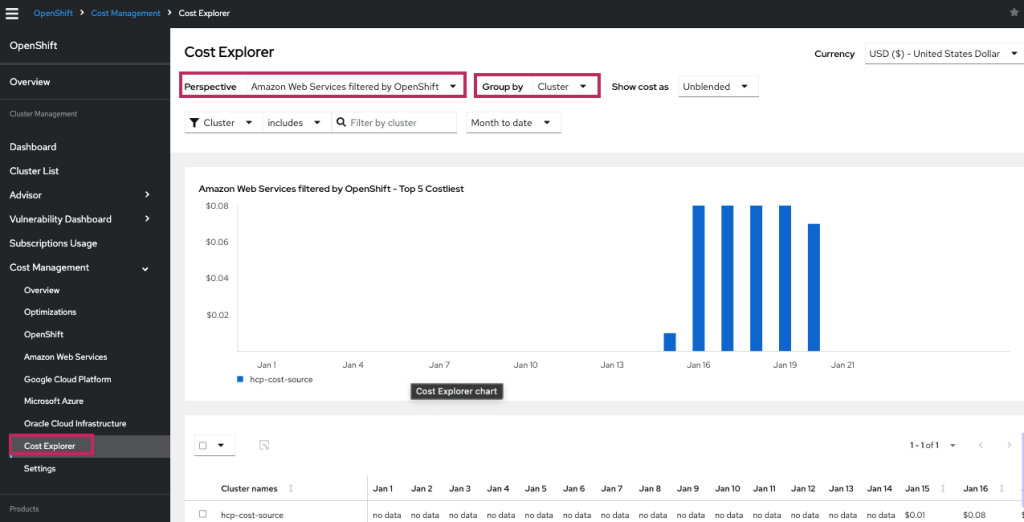
The terminology “filtered by OpenShift” describes the portion of the cloud provider’s cost associated with running an OpenShift cluster. When both a cloud provider and OpenShift source have been added with matching tags or resource ids in the cost reports, Cost Management can correlate the two reports to calculate how much of your cloud provider cost is related to running OpenShift.
Reference:
- Integrate OCP into cost management documentation: https://docs.redhat.com/en/documentation/cost_management_service/1-latest/html/integrating_openshift_container_platform_data_into_cost_management/index
- Relate KCS: https://access.redhat.com/articles/7097288